![2BTech_FavIcon-WHITE-OUTLINE.png]](https://kb.2btech.io/hs-fs/hubfs/2BTech_FavIcon-WHITE-OUTLINE.png?height=1412&name=2BTech_FavIcon-WHITE-OUTLINE.png)
Technical Note No. 046
Replacing Aperture on POM to reduce light from lamp
Date: 4 April 2018
Authors: Craig Williford
Overview:
This tech note describes the procedure for reducing the photodiode voltage on a POM
by replacing the light aperture with a smaller one on the lamp side of the measurement
cell.
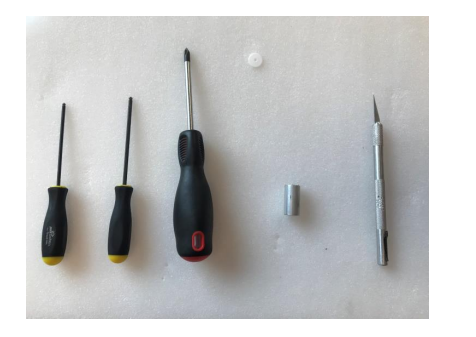
- Philips Screwdriver
- 7/64” Hex Ball end screwdriver
- 3/32” Hex Ball end screwdriver
- Exacto knife or similar (optional)
Procedure:
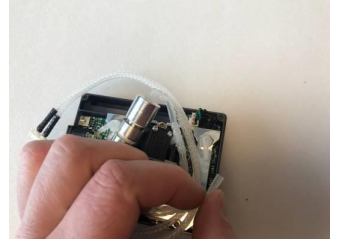
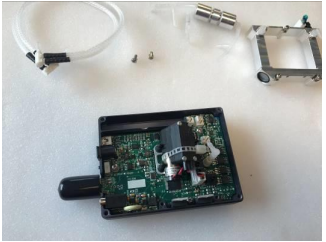
1.0 Remove cover
- Using the 7/64” hex ball end screwdriver, remove 4 hex nuts on back of POM.
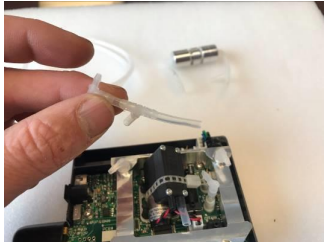
- Tilt back cover up as shown and unplug lamp.
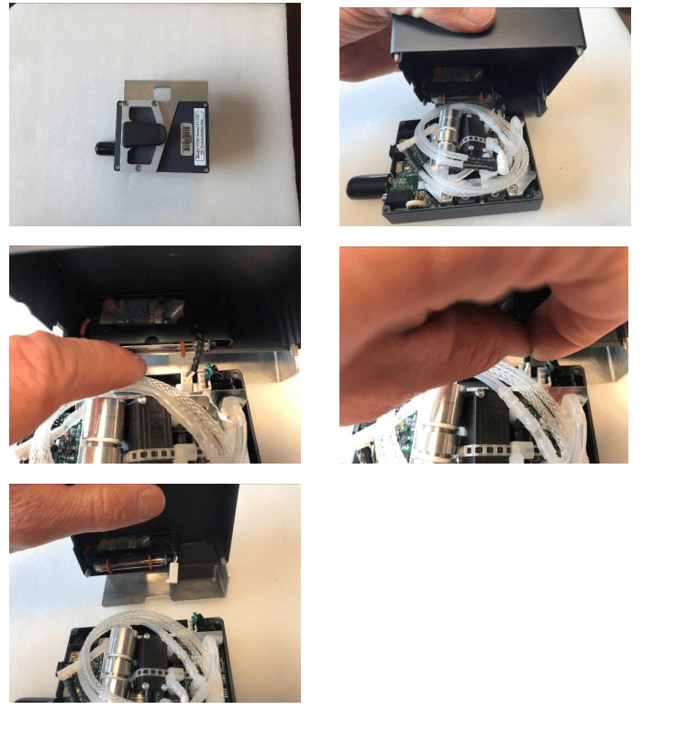
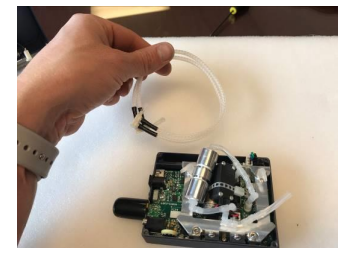
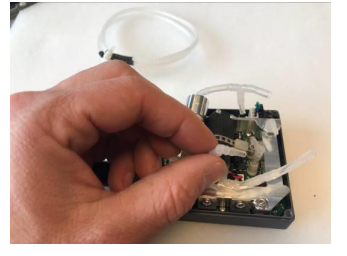
2.0 Remove Nafion
Disconnect valve end of Nafion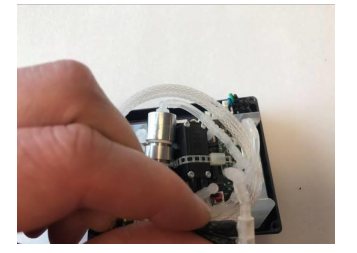
- Disconnect cell end of Nafion
- Disconnect cell exhaust line
- Pull out coil of Nafion
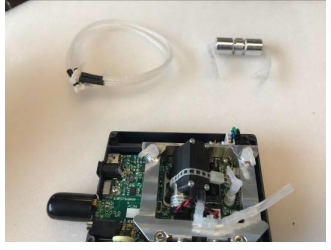
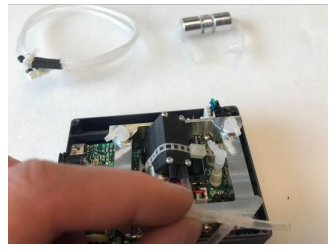
3.0 Remove Scrubber - Disconnect normally open side of valve
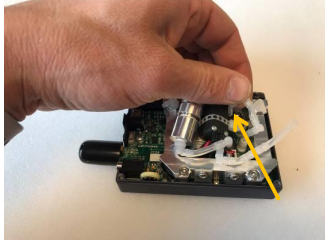
- Disconnect inlet connection
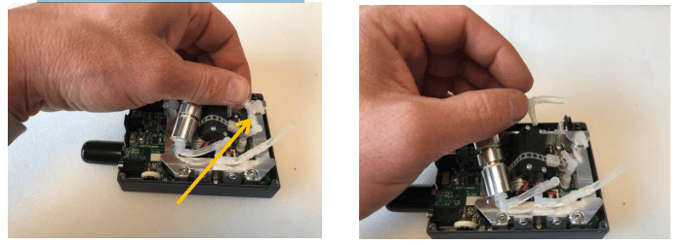
- Disconnect normally closed side of valve
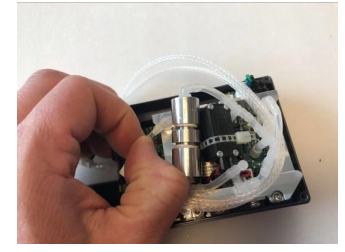
4.0 Remove pump connection
- Disconnect tubing from pressure sensor
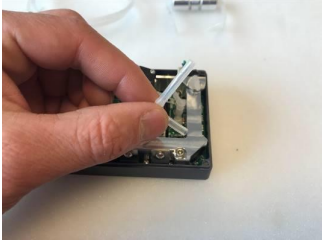
- Disconnect elbow from pump
- Pull out tubing
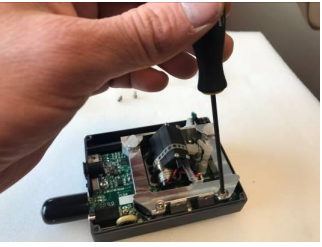
5.0 Remove cell mount screws - Use Philips head screwdriver to remove two screws holding temperature sensor
and voltage regulator to cell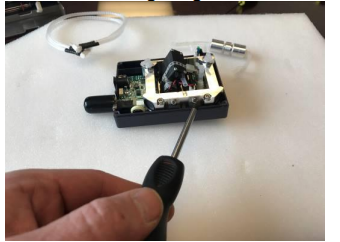
- Use 3/32” hex ball screwdriver to remove three bolts holding cell to enclosure
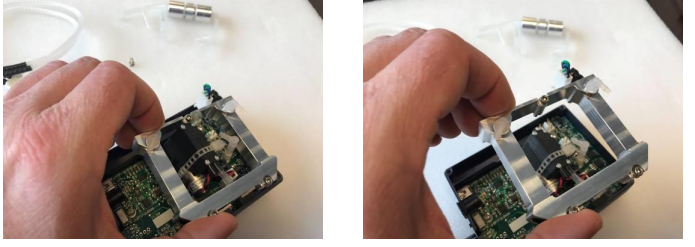
6.0 Remove cell - Carefully disconnect the photodiode from the pcb
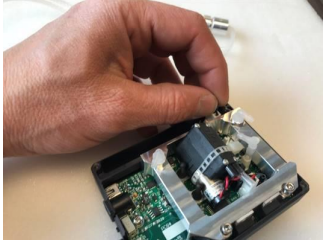
- Pull cell out
7.0 Remove window retaining ring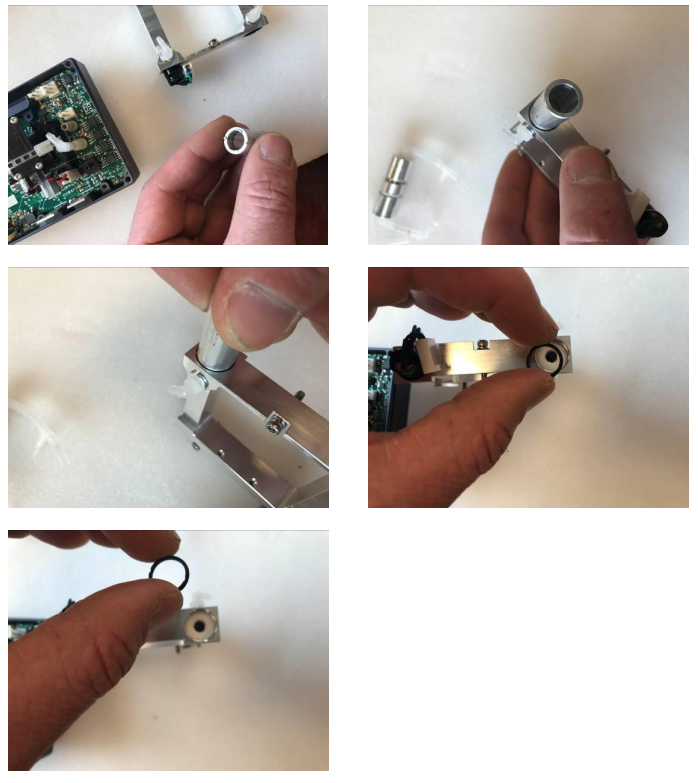
8.0 Remove aperture (if aperture is in place)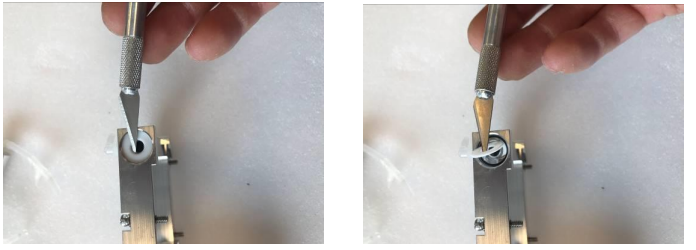
9.0 Replace new Aperture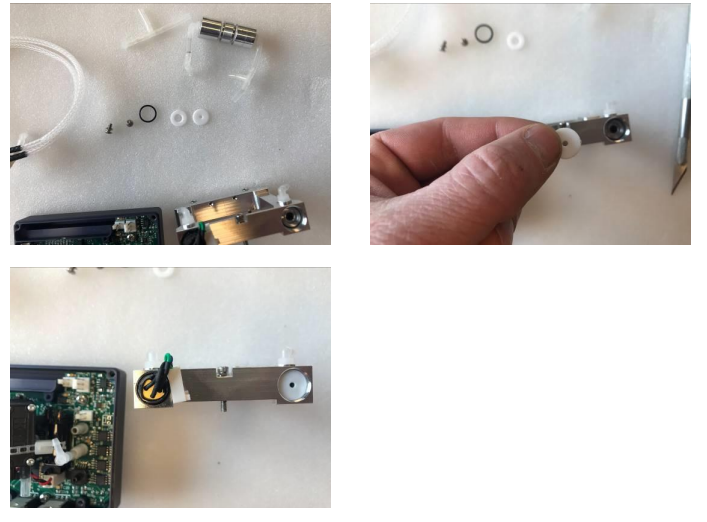
10.0 Assemble in reverse order